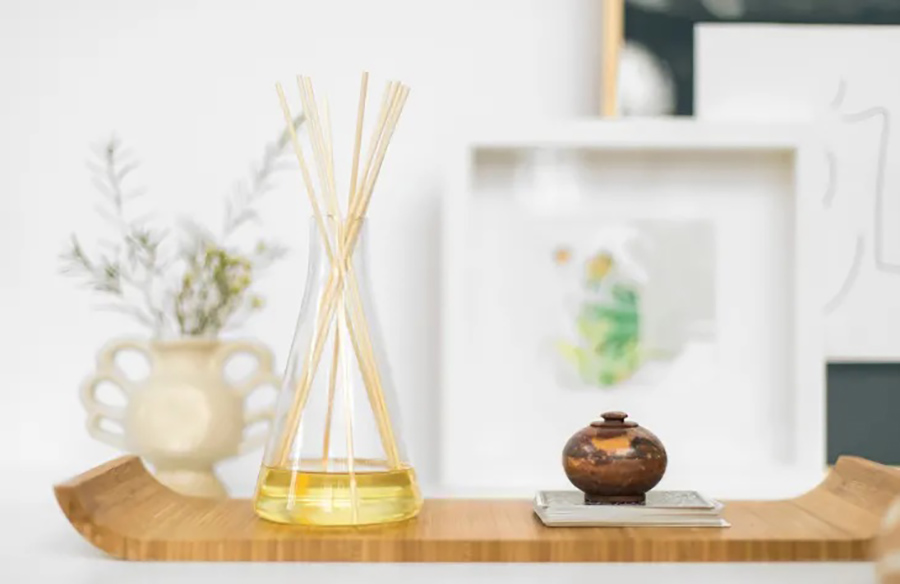
If you’re like me and prefer natural fragrances over artificial ones, then homemade reed diffusers might be the perfect solution for you. Not only are they free from harsh chemicals, but they also offer a budget-friendly way to enjoy the benefits of aromatherapy in your home. Here’s a step-by-step guide to making your own reed diffusers.
Materials Needed
To make your own reed diffusers, you’ll need the following materials:
- Glass or ceramic container with a narrow opening
- Essential oils of your choice (e.g., lavender, eucalyptus)
- Base oil (options include sweet almond oil, sunflower oil, or vodka)
- Reed sticks or bamboo skewers
Steps to Make Reed Diffusers
- Prepare the Scent Solution: Depending on your choice of base, you’ll need to mix your essential oils accordingly. If using an oil base, blend 30% essential oil with 70% base oil. Alternatively, if using vodka and water, combine approximately 12 drops of essential oil with 1/4 cup of water, then add a small amount of vodka to help bind the oils to the water.
- Fill the Container: Pour the prepared mixture into your chosen container. Place one end of the reeds or skewers into the solution, allowing them to saturate. Then remove them and place the opposite ends into the container. Rotate the reeds weekly to refresh the scent.
Tips for Success
- Consider the Bottle Neck Size: Opt for a container with a narrow neck to slow down evaporation.
- Experiment with Scents: Try different essential oil combinations until you find your favorites. You can scale up your batches and store them in sealed containers for future use.
- Be Pet-Aware: Keep in mind that some essential oils can be harmful to pets. Before making a reed diffuser, research the safety of your chosen oils, especially if you have dogs or cats at home.
By following these simple steps and tips, you can create your own homemade reed diffusers to enjoy the natural fragrance and therapeutic benefits of essential oils without breaking the bank.


Leave a Reply